


 How to install OpenTX Companion
Here, we will show you how to install OpenTX Companion on your Windows PC.
With OpenTX Companion, you can upgrade firmware of radio, make a backup, and create a model.
If you are using EdgeTX, use EdgeTX Companion instead of OpenTX Companion.
How to install EdgeTX Companion
このページを日本語で見る
Table of contents
Check compatibility of your radio
You can check the radio models currently supported by OpenTX Companion on the Radios page of the OpenTX official site. Recently released radios may not yet be compatible with OpenTX Companion. In that case, please wait for the version upgrade of OpenTX Companion.
List of radios currently supported by OpenTX Companion (OpenTX)
Or if you use EdgeTX, even radios that OpenTX does not support may already be supported, because the development pace is faster than OpenTX.
You may want to consider migrating to EdgeTX.
How to install EdgeTX on the radio
How to install EdgeTX Companion
Download OpenTX Companion
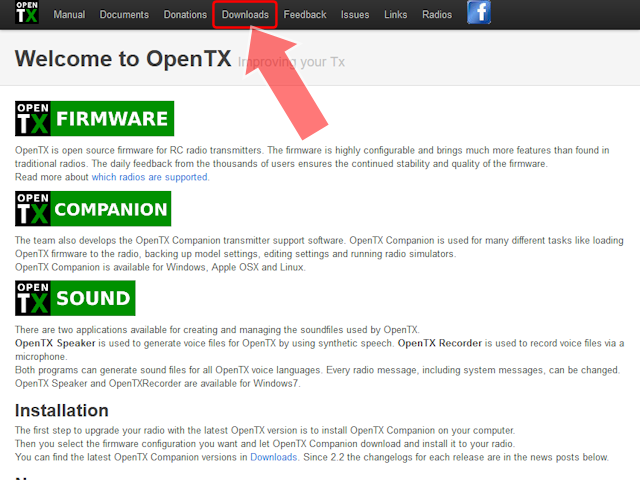 Open
OpenTX official site
.
Then click "Downloads" from the menu above.
Open
OpenTX official site
.
Then click "Downloads" from the menu above.
OpenTX official site
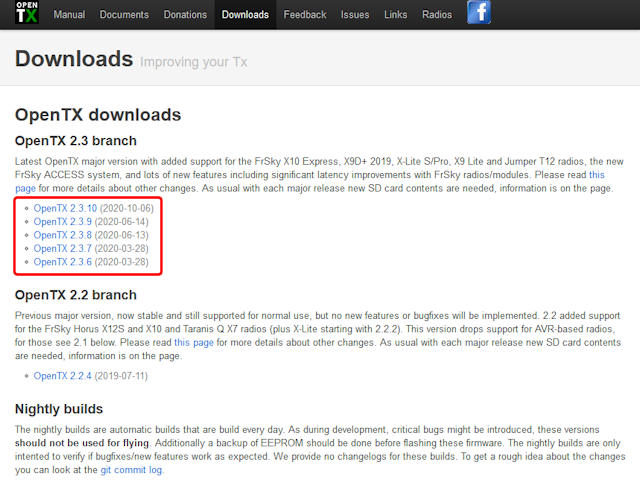 Then you will see a screen like this.
Select the version in the branch you want to download.
Then you will see a screen like this.
Select the version in the branch you want to download.
There is also a version called Nightly builds, but since this is a beta version, it may be unstable or contain bugs. This version is for developers, so please do not use it for general users.
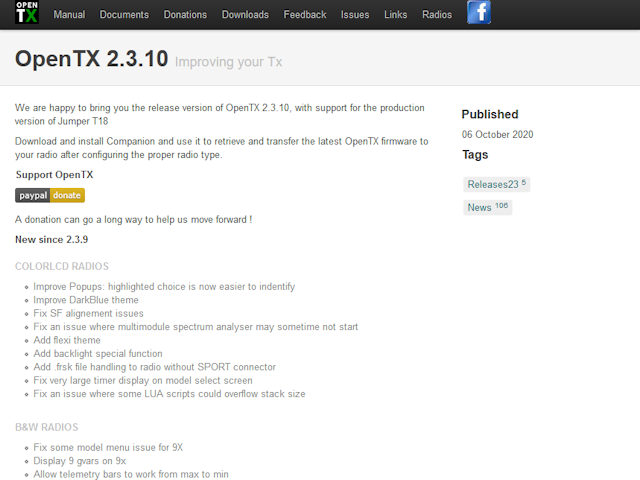 Detailed information about the selected version is displayed.
If you scroll this screen ...
Detailed information about the selected version is displayed.
If you scroll this screen ...
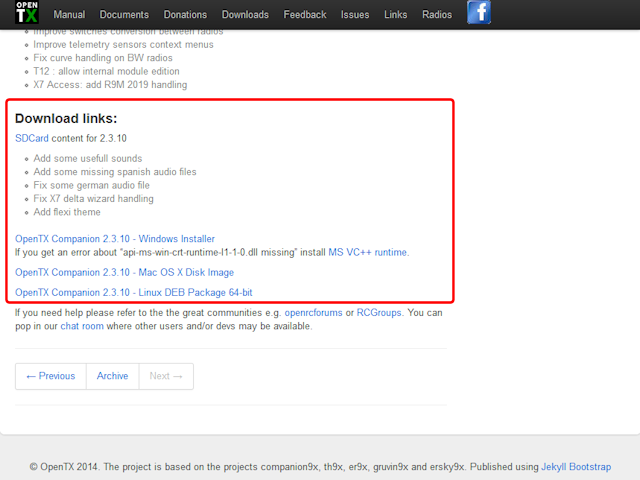 There is a link to the download module in "Download links" section.
Click the link that matches your OS.
For Windows, click the link that says "Windows Installer".
Download time is about 5 minutes, depending on the speed of your network.
A file with a name like "companion-windows-2.3.10.exe" will be downloaded.
There is a link to the download module in "Download links" section.
Click the link that matches your OS.
For Windows, click the link that says "Windows Installer".
Download time is about 5 minutes, depending on the speed of your network.
A file with a name like "companion-windows-2.3.10.exe" will be downloaded.
Install OpenTX Companion
 Double-click downloaded OpenTX Companion installation module to start installation.
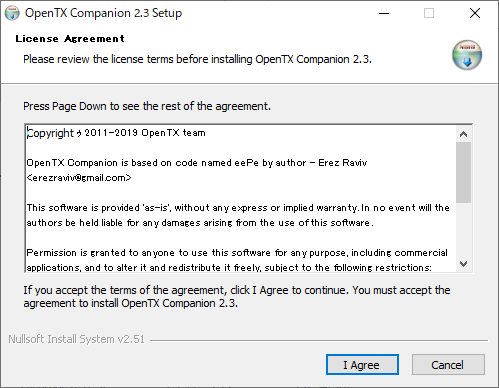
First screen is grant of the software license agreement. Click "I Agree".
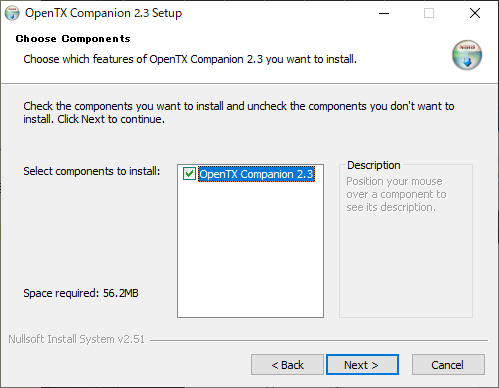 Next is confirmation screen of modules to be installed.
Click "Next".
Next is confirmation screen of modules to be installed.
Click "Next".
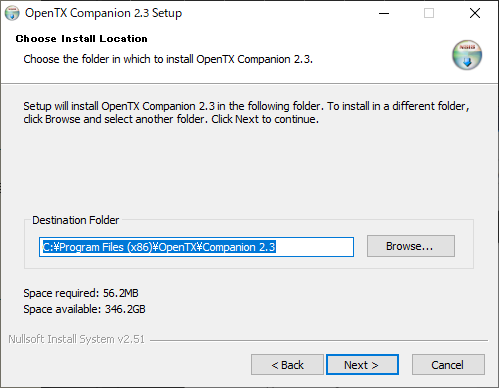 Then select the installation folder.
You won't need to change anything.
Click "Next".
Then select the installation folder.
You won't need to change anything.
Click "Next".
By default, it will be installed in the folder with version number. This allows multiple versions of OpenTX Companion to co-exist on a single computer.
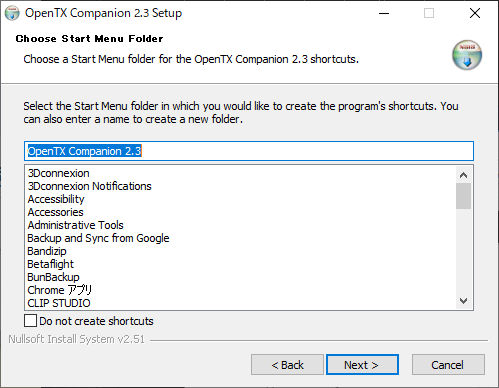 Next is the specification of registration to the start menu.
Again, you won't need to change it.
Click "Next".
Next is the specification of registration to the start menu.
Again, you won't need to change it.
Click "Next".
 Next, select whether to use this software for all users registered on the computer or only for the currently logged-in user.
Please select as you like.
Click "Install".
Next, select whether to use this software for all users registered on the computer or only for the currently logged-in user.
Please select as you like.
Click "Install".
 Then installation will start.
Installation will be completed in a few seconds.
Click "Next".
Then installation will start.
Installation will be completed in a few seconds.
Click "Next".
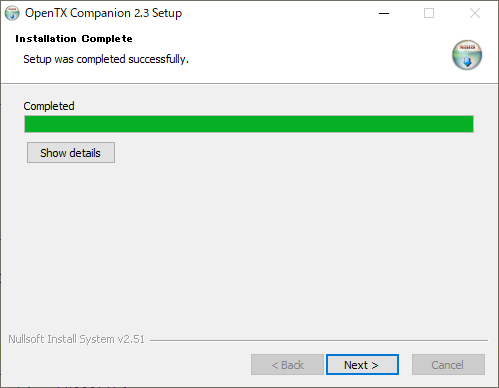
 When you see a screen like this, the installation is complete.
Click "Finish".
When you see a screen like this, the installation is complete.
Click "Finish".
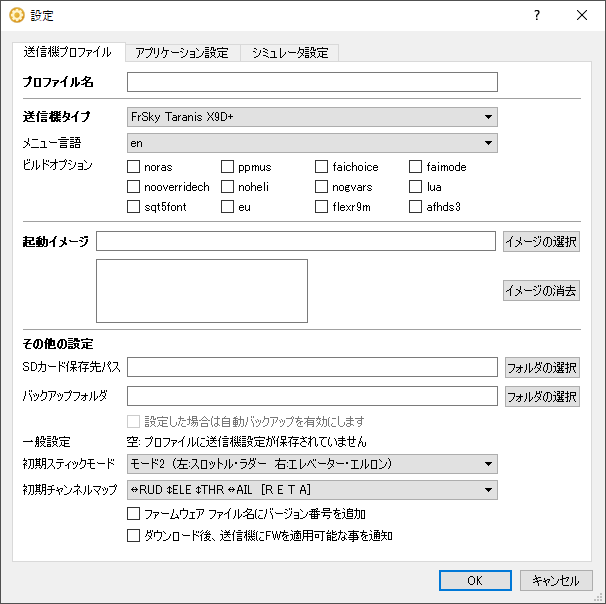 OpenTX Companion will start and radio setting screen will appear.
This screen can be called at any time by selecting [Settings]-[Settings] from OpenTX Companion menu.
If you purchase a new radio, you can register it by selecting [Settings]-[Radio Profiles]-[Add Radio Profile].
 In "Radio Type" drop-down list, select your radio model.
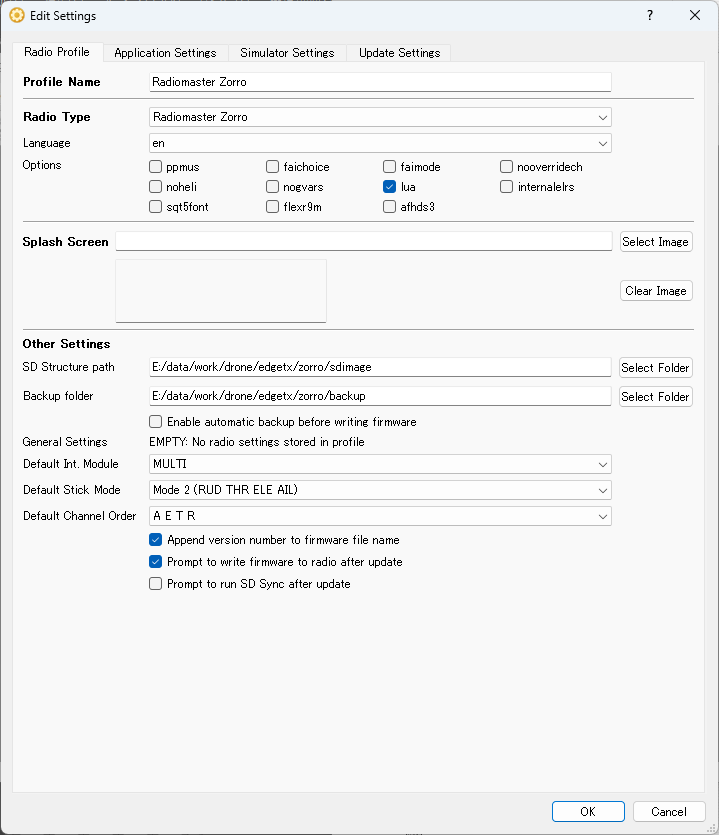
In the "Build Options" field, you can select whether to enable or disable various functions of the radio. This list of features will change depending on selected radio model. Hover your mouse cursor over each item name to see details of the function.
I think you should select "lua (enable Lua custom script screen)" and "internalmulti (support for internal 4IN1 MULTI-Module)". Select "internalELRS" for radios with a built-in ExpressLRS(ELRS) transmitter.
In "Default Int. Module", specify the type of transmitter (communication protocol between transmitter and radio) built into your radio. Select "MULTI" if it has a built-in 4in1 multi-protocol module, or select "CRSF" if it has a built-in Express LRS (ELRS).
Select "Default Stick Mode" and "Default Channel Order" according to your radio settings.
If you check "Append version number to FW file name", it will be easier to distinguish the version of the downloaded file.
Finally, click "OK".
If your radio's name isn't in "Radio Type" drop-down list, it's probably not yet supported by OpenTX Companion. Recently released radios may not yet be compatible with OpenTX Companion. In that case, please wait for the version upgrade of OpenTX Companion.
EdgeTX, which has a faster development pace than OpenTX, may already support even radios that OpenTX does not support. If you are using OpenTX, you may consider migrating to EdgeTX.
List of radios currently supported by OpenTX Companion (OpenTX)
How to install EdgeTX on the radio
How to install EdgeTX Companion
Install the driver : STM32 BOOTLOADER
To access the firmware of FPV drones and OpenTX/EdgeTX radios using STM32 processors on Windows PC, it is necessary to install a driver called "STM32 BOOTLOADER". Normally this driver is not installed automatically and must be installed manually. See below for details.Access to radio: backup Flash memory and EEPROM
Radio that uses OpenTX/EdgeTX has a "Flash memory" that stores firmware and boot loader, and an "EEPROM (Electrically Erasable Programmable Read-Only Memory) that stores model information and various setting information inside.As a starting point, let's back up the initial firmware and EEPROM installed in the radio to your computer.
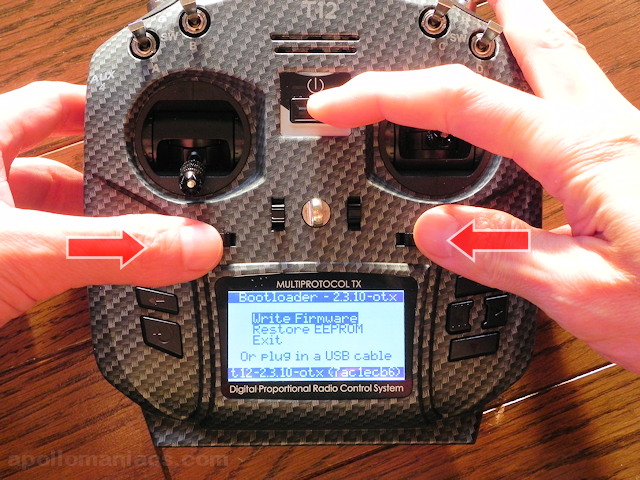 Boot the radio in DFU/Bootloader Mode.
Hold down left and right horizontal trim buttons inward and press power button.
When screen becomes bright, release trim buttons and you will see a screen like this.
Boot the radio in DFU/Bootloader Mode.
Hold down left and right horizontal trim buttons inward and press power button.
When screen becomes bright, release trim buttons and you will see a screen like this.
Then connect the radio to your computer with a USB cable and wait for a while.
 Radio screen looks like this.
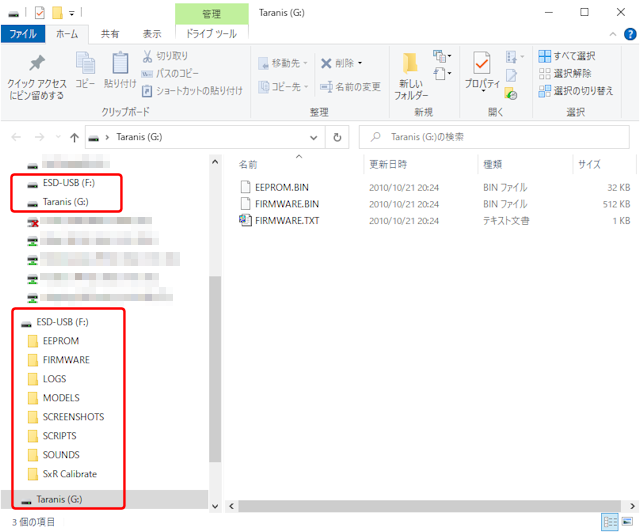 Then, after waiting for a while (about 20-30 seconds), two drives, "ESD-USB" or "USB drive", and "Taranis" or "(your radio name)" will be mounted in Explorer on your computer.
(For EdgeTX, only "USB drive")
Now you are ready to access the radio.
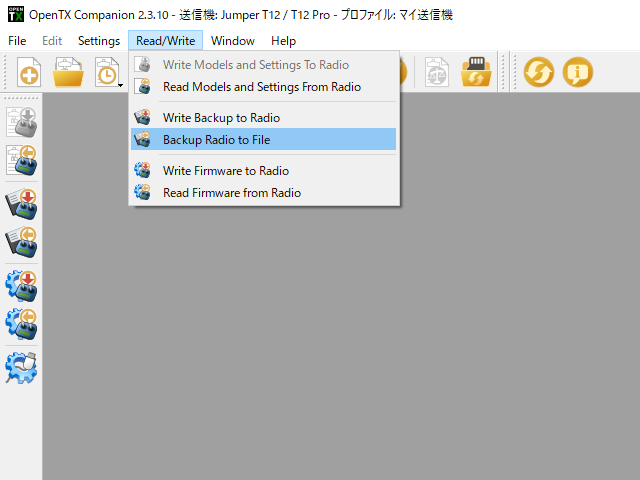 First, back up contents of EEPROM.
Select [Read/Write]-[Backup Radio to File] from the OpenTX Companion menu.
First, back up contents of EEPROM.
Select [Read/Write]-[Backup Radio to File] from the OpenTX Companion menu.
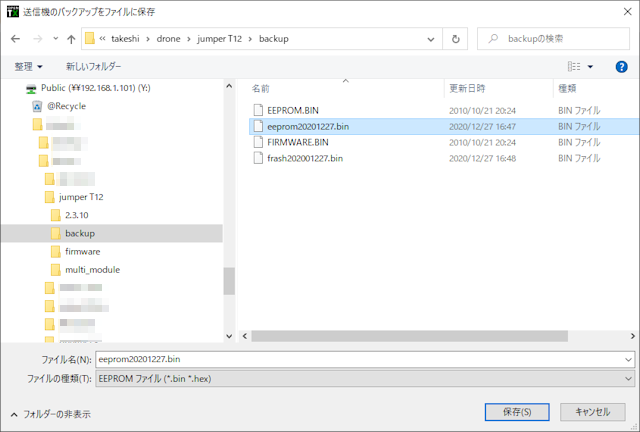 Then folder selection dialog is displayed, so specify the folder and its file name where you want to save.
Then backup will be completed in a few seconds.
Then folder selection dialog is displayed, so specify the folder and its file name where you want to save.
Then backup will be completed in a few seconds.
This backup file can be written back to the radio by [Write Backup to Radio] menu.
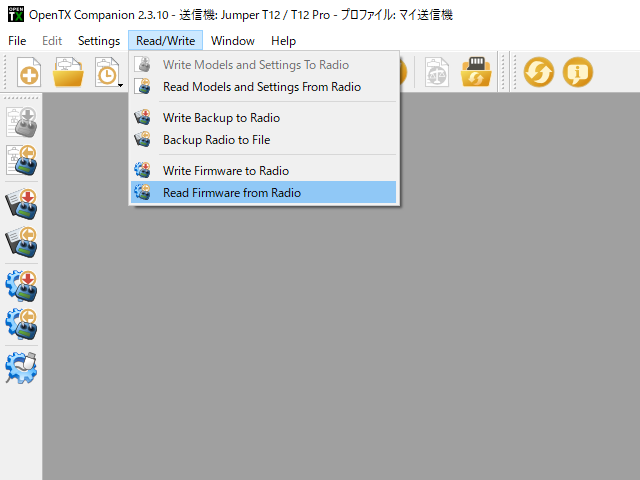 Next, try backing up firmware.
Select [Read/Write]-[Read Firmware from Radio] from the menu.
Next, try backing up firmware.
Select [Read/Write]-[Read Firmware from Radio] from the menu.
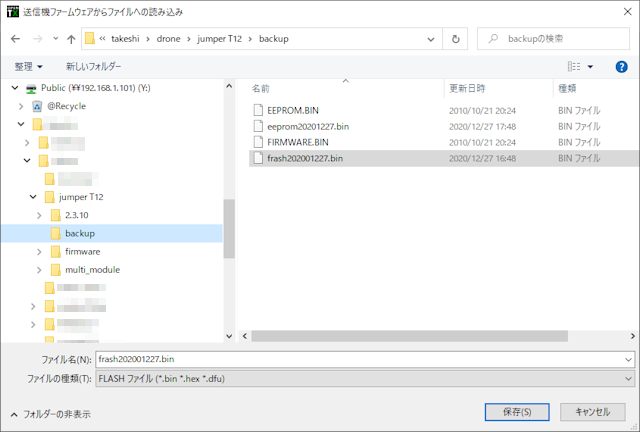 Then folder selection dialog is displayed, so specify the folder and its file name where you want to save.
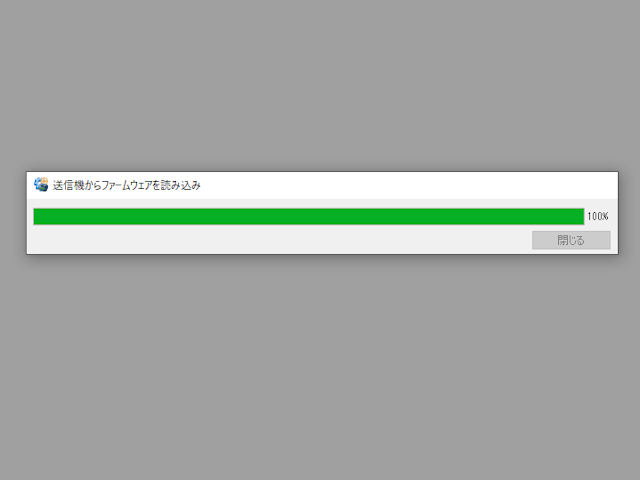 Then backup will be completed in a few seconds.
Precautions when removing radio from computer
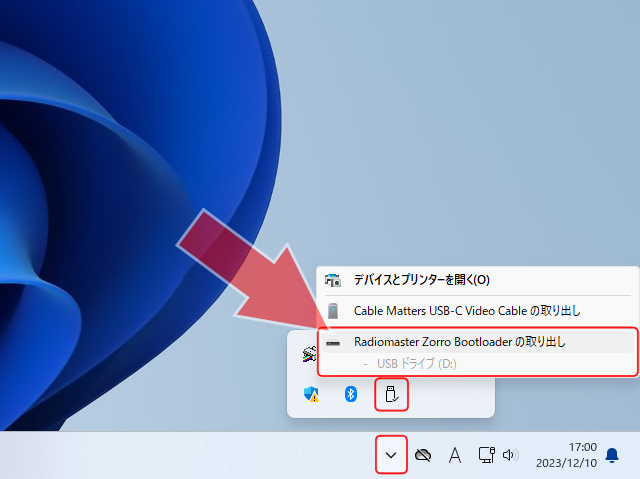 When radio is connected to PC in DFU/Bootloader Mode, memory of the radio is visible as a USB memory.
When removing radio from PC, perform "Eject" operation of two drives, "ESD-USB" or "USB drive", and "Taranis" or "(your radio name)", and then remove it, in the same way as when removing USB memory.
When radio is connected to PC in DFU/Bootloader Mode, memory of the radio is visible as a USB memory.
When removing radio from PC, perform "Eject" operation of two drives, "ESD-USB" or "USB drive", and "Taranis" or "(your radio name)", and then remove it, in the same way as when removing USB memory.
Upgrade OpenTX Companion
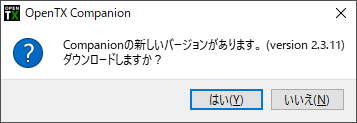 If you see a screen like this when you start OpenTX Companion, you can upgrade it.
Click "Yes" to upgrade.
If you see a screen like this when you start OpenTX Companion, you can upgrade it.
Click "Yes" to upgrade.
 Then you will see a screen like this.
Specifies where to save new OpenTX_Companion installation module.
Then you will see a screen like this.
Specifies where to save new OpenTX_Companion installation module.
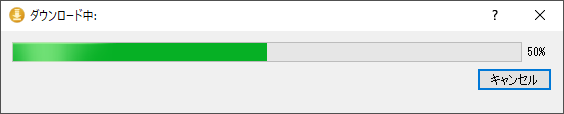 Next, download of installation module will start.
Download time is about 5 minutes, depending on the speed of your network.
Next, download of installation module will start.
Download time is about 5 minutes, depending on the speed of your network.
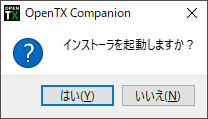 When download is complete, you will see a dialog box like this.
Click "Yes" to start installation.
After that, proceed with installation using the same procedure as for first installation.
When download is complete, you will see a dialog box like this.
Click "Yes" to start installation.
After that, proceed with installation using the same procedure as for first installation.
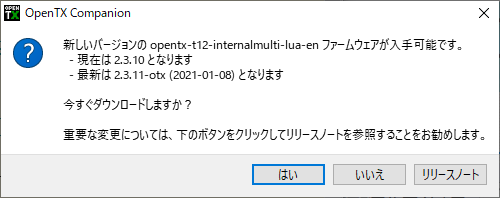 OpenTX Companion will restart when upgrade is complete.
You will then be asked if you want to download the latest version of radio firmware.
Let's continue to upgrade your radio.
OpenTX Companion will restart when upgrade is complete.
You will then be asked if you want to download the latest version of radio firmware.
Let's continue to upgrade your radio.
For details, see How to update radio firmware .
How to update radio firmware